I wanted an antique wooden sign for my spring window display and I wanted one right away!
So, here's my latest tutorial of how, easily, I made this beauty.

The details it has make it look really convincing.

The details it has make it look really convincing.

I'm the type of girl who's just too anxious to get a project done then to go out and waste time hunting for old wood or spending money for some new.
Cardboard is free and always at hand....I'll show you how to make one.

After cutting a piece, to the size that I want, I start by painting it a darker shade of brown. It's a better base color for convincing age. So, grab any old craft paint and slap some on!

Then randomly apply a crackle medium, here and there, (not quite all over) and let it dry according to directions.

When it's ready, apply your desired color (making each swipe in one direction) and wait for it to dry.
I used white semi gloss paint and my, scruffy old, medium paint brush...it's perfect for making chunky gaps in the paint and adds to the aging results!

Here's a little aging technique for any wood project.
You need to add clusters of tiny worm holes... they are so often found in really old wood.
So, grab a hammer and a nail and poke away!

This is my preferred transfer method:
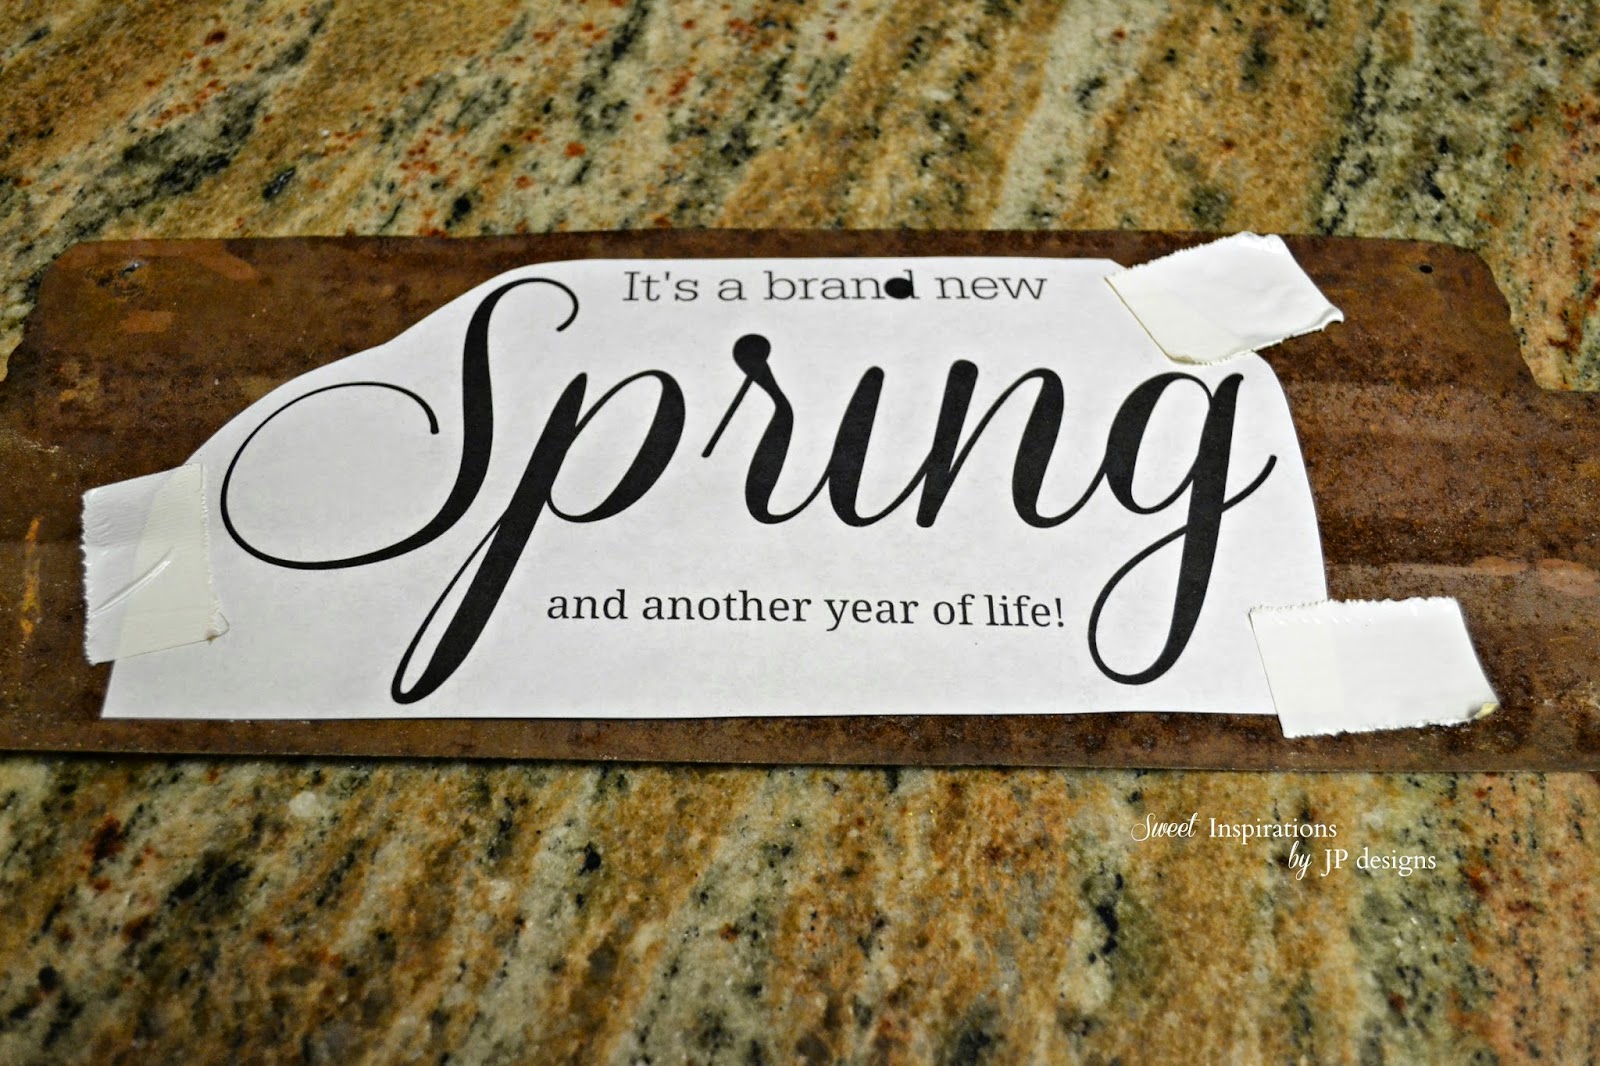
Design and print out your text or image in REVERSE
This one is FREE and already reversed and ready for you to use....all that I ask is that a link to my artwork is provided wherever you share your own creations.
Just right click and save it to your downloads.


After you've chosen your text or image this is what you need to do next:
I use presentation paper for more stability with wax paper taped on top and feed it into my ink jet printer.

Remove it very carefully .....it's really easy to smudge!
Then tape it in place to hold it, onto your wood, where you want your image to be.
Again, very carefully, use your finger (it transfers the ink better that using a credit card) and rub over all areas of your design.
Then remove the wax paper and do not touch the ink...it will still be wet on the glossy paint!
Just a little FYI, I accidentally used a semi gloss paint, but, ended up very glad that I did.
It saved me the hassle of having to hand paint each letter on my sign.
note: if you happen to have a laser jet printer then simply use a flat paint. The graphics from a laser jet come out much more vivid than the ink jet results, which come out lighter on a flat paint base and you may not have to paint your image at all.
A moist cotton ball easily cleans up any little imperfections of ink.

Now to get rid of that glossy look...
handle it very carefully as you apply your sealer. I used a matte finish spray.
It completely toned down the shiny finish.

Last summer I made my first fake sign...it's my most popular post on my blog and on Hometalk to date.
my old wood market sign...not
This was the one that I hand to end up hand painting because of the faint image results over the flat paint finish.
It turned out great, but it was a lot more work.

It's kinda crazy how easy this one was to do and how realistically old it turned out.

So, here it is displayed above our old country cupboard for now.
Soon I'll move it to our bay window for it's new spring look.


This post was honored with a feature @ onemoretimeevents and lifeonlakeshoredrive
Sharing this post at these great link parties
onemoretimeevents
shoestringelagance thecharmofhome
rootedinthyme
charmbraceletdiva
staceyembracingchange
adelightsomelife
knickoftime
thededicatedhouse
astrollthrulife